chainsawriot
Home | About | ArchiveHow to create virtual conference videos: A practical guide
The title of this post is a click-bait. Given the fact that more and more academic conferences are now “virtualized”, we need to face the new normality of making presentation videos on your own. Usually, there is not much information on how to do that. Conference organizers usually hand out a PDF file on how to use an obscure software to record your screen and then assume that you can magically survive this difficult task. In this blog post, I’m gonna summarize my experience struggling with these video recording tasks. Possibly you may find it either useful or laughable.
Overengineering

I don’t want to give recommendations on how to make slides. In this particular season, I had a sudden obsession of not using PowerPoint nor Google Slides. Well, as I said previously, the only reason for me to use these two is for maximizing compatibility. The new normality is that I don’t need to think about that compatibility (e.g. with projectors) etc. and I am on my own now. I think it’s time for me to experiment with alternative presentation setups.
Well, it then became an engineering hell. Or an overengineering hell. (But I enjoyed it). I picked a wrong fight to create a Xaringan theme for my institution. Honestly, no one would use that theme except me. But for unknown reasons, I have devoted a few weekends tweeking the theme. It was quite satisfying to create such theme and saw how it transforms from an ugly theme to a clean, elegant theme. My front-end development skill was close to zero and now I know how to tweak CSS and write some Javascript. I’ve ended up submitted some pull requests to various R packages while doing that.
But still, the time investment was way larger than the profit.
But hey, I have some nice HTML5 slides. Next.
Recording
Most of us don’t have the luxury to recording our presentations at a recording studio. We are staying at home.
After 2 months of lockdown and regular video meetings, I can feel the differences between good and bad at-home video setups.
I have quite a few tips. Let’s arrange this section by price.
Free (as in free beer)
Your face must be facing the light source. If the light source is behind you (e.g. you are sitting in front of a window and you camera is facing the window), you surely would look like either Shiva or an angel. Namaste, Amen.
Most of us (me included) are using our laptops’ build-in webcams. For the purpose of recording video presentation, that’s enough. A free improvement is to adjust the height of your laptop (e.g. put two of your unread Habermas books underneath your laptop) so that its webcam aligns with your eyes. By doing so, your face is always in the center of the recording, rather than some strange angles such as recording your side or a close-up of your nostrils.
I have read too many tweets from @ratemyskyperoom. I don’t have an impressive room with art or a bookshelf with the whole trilogy of Castells. So I opt for a boring white background. It is better to be boring than be messy.
Cheap
Indoor video recording is tricky. Unless your laptop’s webcam is as powerful as the ones on newish iPhones, these cheapo webcams usually struggle with low-light recording.

Another problem is from your laptop screen. It emits light too. So a bright slide and a dark slide can change the color of your face. My cheap webcam cannot compensate for these rapid color changes and my face turns green and yellow slowly like a traffic light. For people wearing glasses, your glasses glare.

Artificial lighting usually helps. A regular desk lamp would do. How to set a lamp is a professional assignment. We, as noobs, should try the path of least resistance approach. An easy idea is not to use “hard lighting”. Don’t shine your lamp directly onto your face. It is not only uncomfortable but also makes you look like a character in a 1920s German expressionism movie.
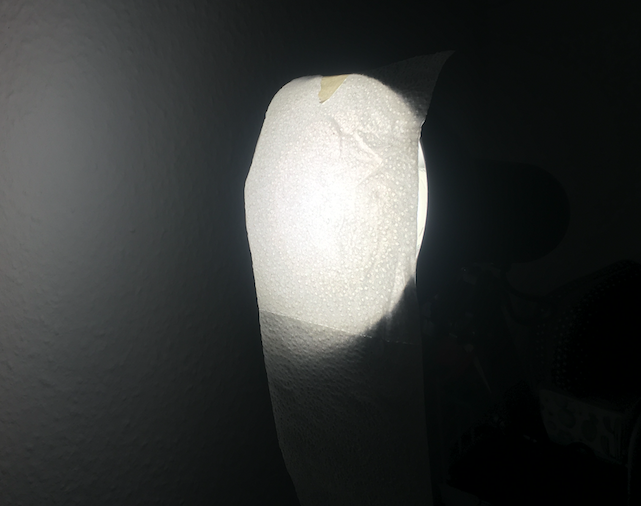
Make a “soft lighting”, like the one you would use for Ingrid Bergman. A cheap hack is to paste a piece of semi-translucent toilet paper in front of the light bulb. I will come back to toilet paper later.
Expensive

Let’s talk about sound recording.
The microphone on your laptop is usually not great. If you can’t hear the difference in clarity between your sound recording with those microphones and sound recordings by some better-than-average YouTubers, then you shoud skip this part. Your investment is not worth it.
If you want to have better sound recording, keep reading.
Get an external microphone. An entry-level, USB condenser microphone would provide a hugh improvement over your laptop’s microphone. If you want to go pro, you can get an XLR condenser microphone. But you also need a sound interface with Phantom power. A cheap set of these two costs you around 200 bucks (e.g. Focusrite Scarlett). But if your application is simply recording your voice, a USB microphone suffices.
I am using a Blue Raspberry Premium Mobile USB Microphone. It was given to me from a friend back in Hong Kong.
If you really don’t want to buy a microphone, experiment with the equipments you have. For example, your newish iPhone should have a better microphone than your laptop. Try your bluetooth headsets, e.g. AirPods, they record audio too.
Let’s assume you have a decent microphone. Put the microphone directly in front of you. If you want to test your microphone, speak to it. Don’t hit it! Unless you want to buy a new one!
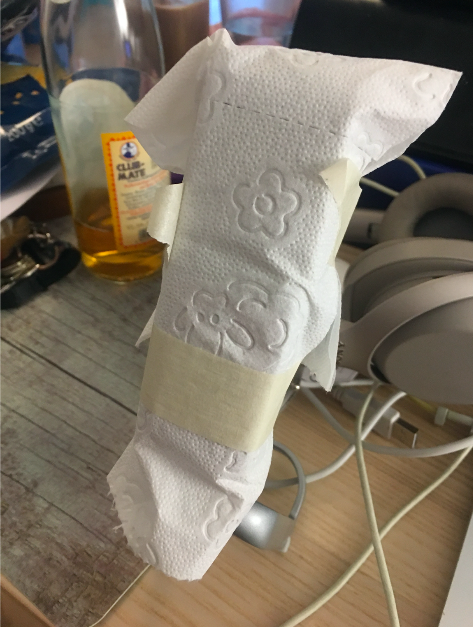
Now, you may need to consider accessories. As the current pandemic tells us, we are a saliva-spitting species. I think the only thing that you would need is a pop-filter. Sure, it is not expensive. But I am cheap so I just use some toilet paper (again) to wrap my microphone into a Frankenstein or a mummy. It works and I have one more reason to buy more toilet paper.
If your room is too hollow, you might still hear reverb in your recording. It is because sound bounces around your room and then is captured by your mic. In a good recording studio, people would make a sound booth with those expensive sound absorbing sponge. Again, we are noobs. If you are so concerned about those reverb, try to hang some fabric (e.g. your blanket, bed sheets etc) on your wall. It can absorb some sound.
Software
I have experimented with various ways of recording. I am using a Mac, so this section is heavily biased.
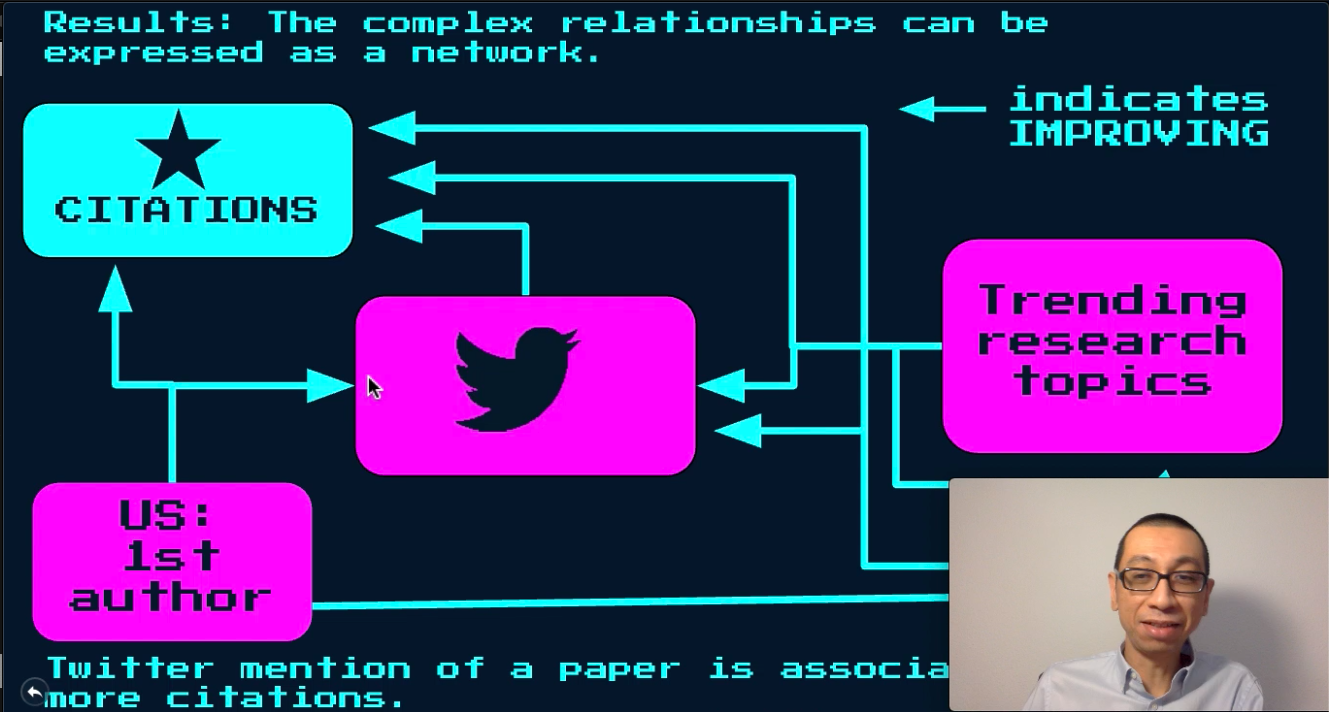
The classic way is the way I learned when I was doing video podcast for the Hong Kong R User Group. It is easy and free. I use QuickTime to create a “New Movie Recording”. That one is recording from my Webcam and then I make this window “Float on Top” (View -> Float on Top). And then, I create a “New Screen Recording” to record my full-screen presentation and the Webcam. This method works quite well for many of my recording tasks but the position of the Webcam window is almost fixed. You need to adjust your slides so that your Webcam window doesn’t block the content.
I have been impatient with the blocking webcam so I wanted to find an alternative solution. I have previously webstreamed a lecture (that lecture was moved to online due to the University sieges in Hong Kong last year) and for that lecture, I have used OBS (Open Broadcast System). It is a free and open source software. Recently, I have discovered that OBS can also be used for non-streaming video recording too.
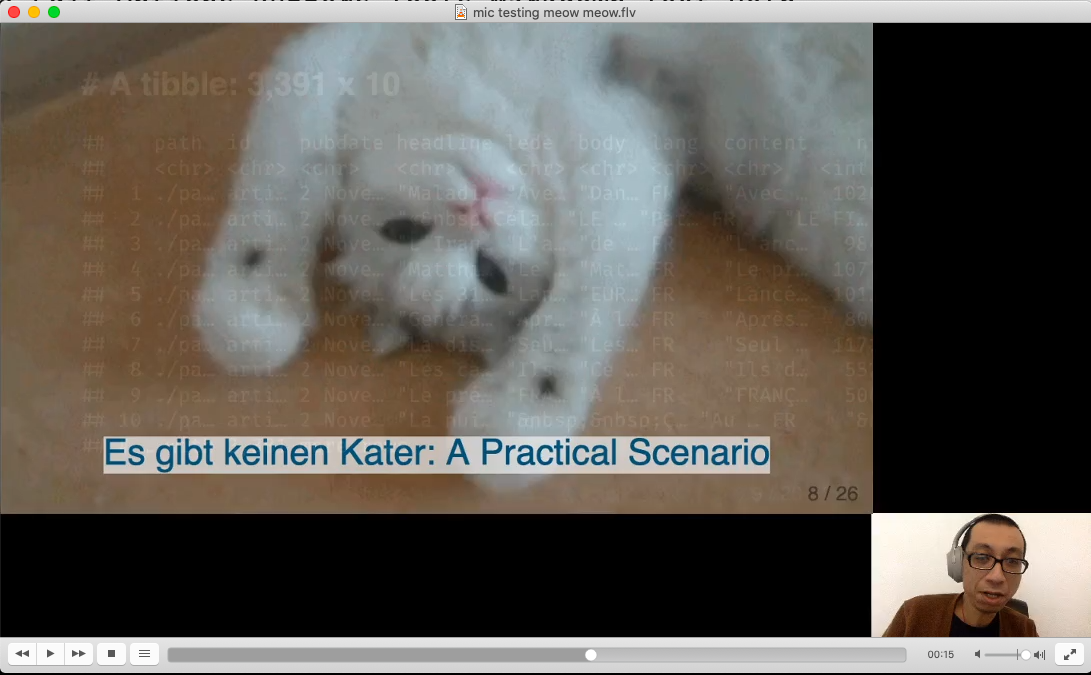
With OBS, you can arrange the screen and webcam so that they don’t clash with each other.
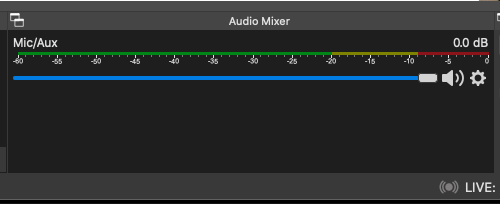
Level: remember the pop-filter? In OBS, there is an audio-mixer panel. Try to say something like “papa baba twitter” and make sure the VU meter never goes to the red zone. Adjust the volume knob or the position of your microphone so that the VU meter can capture as much sound as possible. Calibrate until the VU should stay in the yellow zone while you are speaking. But please avoid the red zone.
After the recording, you may need to edit the video. Another good thing about virtual conference is that you have the luxury to edit your video.
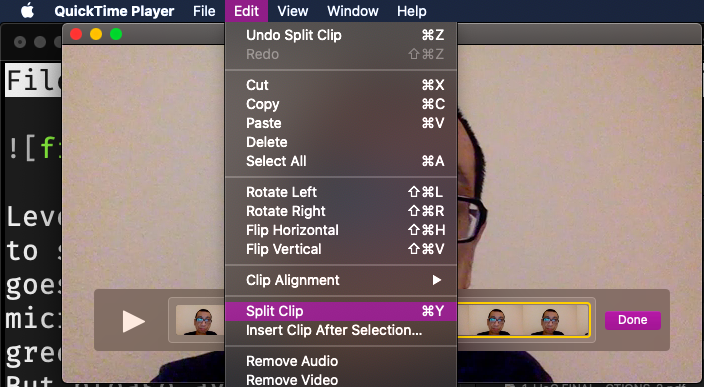
If your editing is simply cutting some NG (Not Good) footage, then again QuickTime is good enough. Just Edit -> Split Clip to break up the video into clips and then delete the unwanted NG clips. And then save the video. Profit.
Conclusion
Don’t spend too much time like I did with these things. It doesn’t worth it. If you think the above is useful, say “Thank you” to my wife. She told me most of the ideas.